Blackboard Feature Request: Customizable Course Communication Dashboard Home Page

For quite some time, I have been frustrated with the lack of options within Blackboard for customizing the entry point of the course. While an instructor can set any tool or content area to be the default entry point in a course, there’s only so much that can be done in a Blackboard content area or page using the current built-in functionality. When Blackboard introduced the “Home Page” as the new default entry point, students were given access to a variety of information streams when logging into the course. However, these information modules are still primarily system driven and can not be easily customized or new modules setup by the instructor. With a few further customizations, the Home Page could become a much more useful tool.

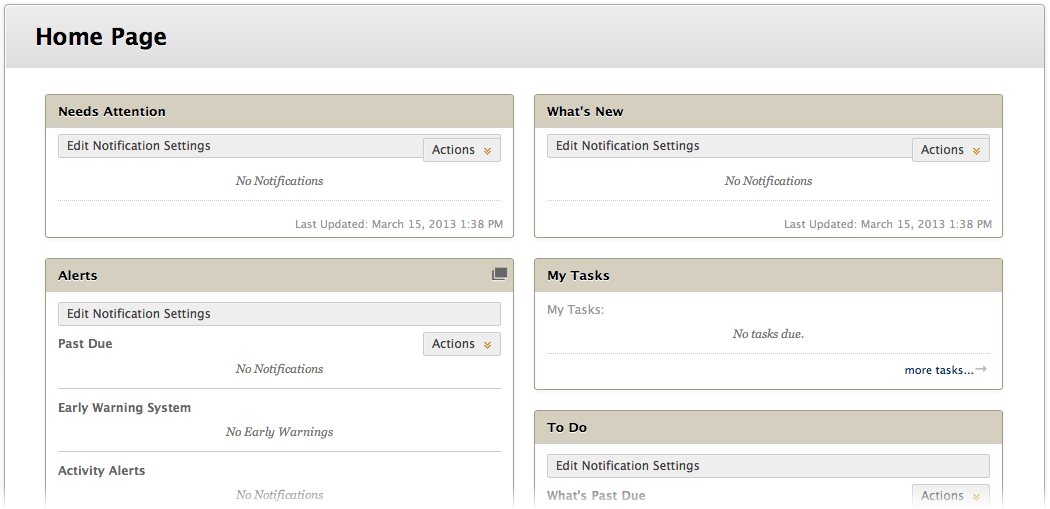
For years, the Announcements page was the default entry point in Blackboard. With the release of Blackboard Learn 9, the Home Page was added which includes various information modules for the user, such as: Needs Attention, What’s New, My Tasks, Alerts, etc.

Home Page

Home Page in Blackboard Learn


While the Home Page tool was a step in the right direction, it is still very restricted and falls short in allowing faculty to customize at the level in which it can be a true “Communication Dashboard” for the course. I’ve shared this feedback with Blackboard product developers at BbWorld and the Blackboard Idea Exchange over the past nearly 2 years, but since I’ve yet to see my suggestions implemented, I’m sharing them here as well so that perhaps others can echo the value of such a feature enhancement.

What follows is my rationale for why I’ve desired a more instructor-customizable communication dashboard as the entry point for a Blackboard course as well as a sample of my “homemade” solution. In future posts, I’ll then share more specifics for how to create a customized communication dashboard in Blackboard and incorporate a variety of different information sources within the dashboard.

Needs

In my teaching, I’m often introducing in-service teachers to new technology tools and practices that they can apply into K-12 classroom teaching. My students and I use 3rd party blog, sms, calendar, and other tools in addition to Blackboard and I would like to be able to provide information about accessing these tools as well as streams of information from them in a single communication portal. Basically, I’ve simply been looking for a customizable and yet visually appealing area within Blackboard where different information sources can be embedded. In particular, these are the tools that I use and want to easily share with my students:

Latest Blog Posts – During the course, my students and I each setup and post to individual 3rd party blogs. Even though my students are instructed to subscribe via RSS to my blog as well as the blogs of their classmates, I want to display clickable titles of the last several posts from my blog.

Course Calendar – While Blackboard’s Calendar is greatly improving with the release of the new Blackboard Calendar in Service Pack 11, up until this point, the built-in calendar hasn’t been acceptable and I create a Google Calendar for each class. I would like for a version of that calendar for the upcoming 7 days to be embedded and viewable by my students.

Texting List Sign-up – In my teaching, I use Remind101.com and encourage my student to opt-in to my texting news list powered by Remind101. I would like to provide the information for signing-up to join the texting list.

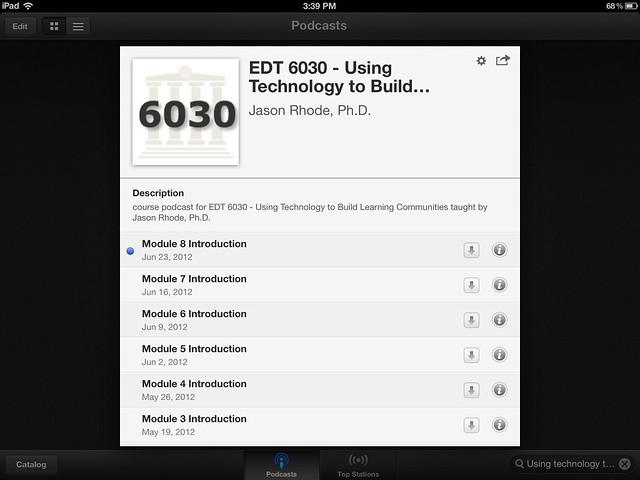
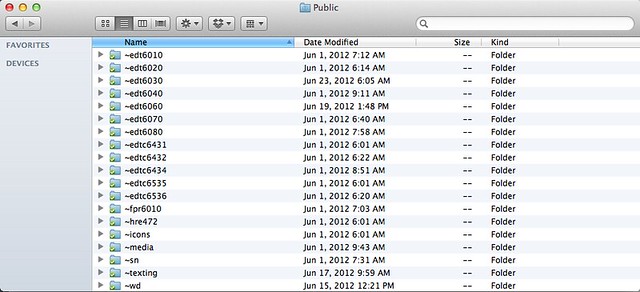
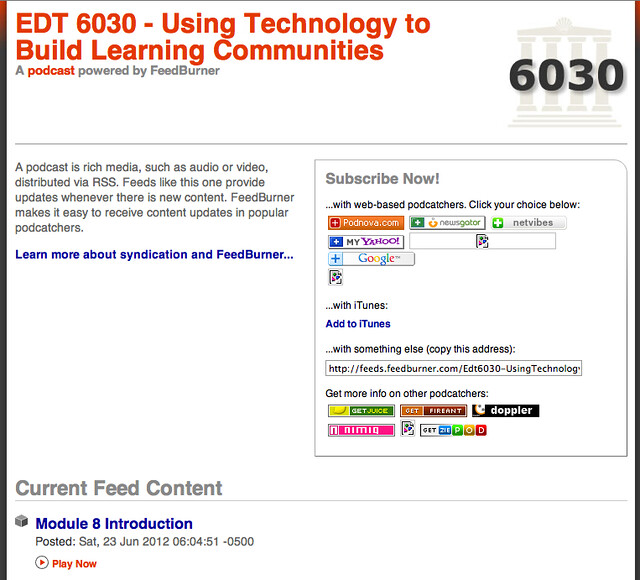
Course Podcast Player – I’ve setup a podcast for my course and would like to embed a player so that right from the course entry page, students can listen to the most recent episodes of the podcast. I’ve previously shared steps for how I setup my podcast using Dropbox.

Class Blogs – The students in the course each setup their own blogs and post to throughout the course. I would like to include links for each of my students’ blogs.

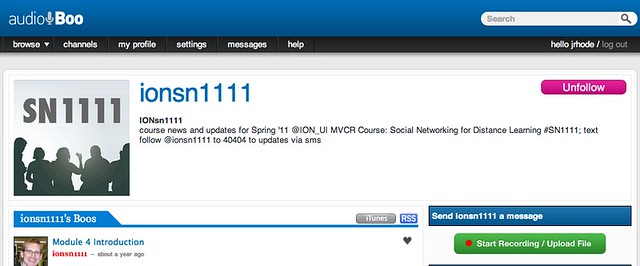
Instructor’s Tweets – Twitter is another important communication means used during the course. I would like at the outset of the course to include a Twitter widget displaying the latest tweets from the instructor, with the widget to be changed after Twitter is introduced to students and they begin tweeting, to display latest tweets using a course hashtag.

Dashboard

With a little HTML and CSS know-how, I’ve gone ahead and created this course communication dashboard that I now use in my Blackboard courses. It includes the communication streams and information sources that I want my students to see when they login to my Blackboard course. Students have commented on how helpful having such a communication dashboard available upon entry to the course has been and as a result, I’ve continued to include my homemade version in the courses I teach.

Course Dashboard

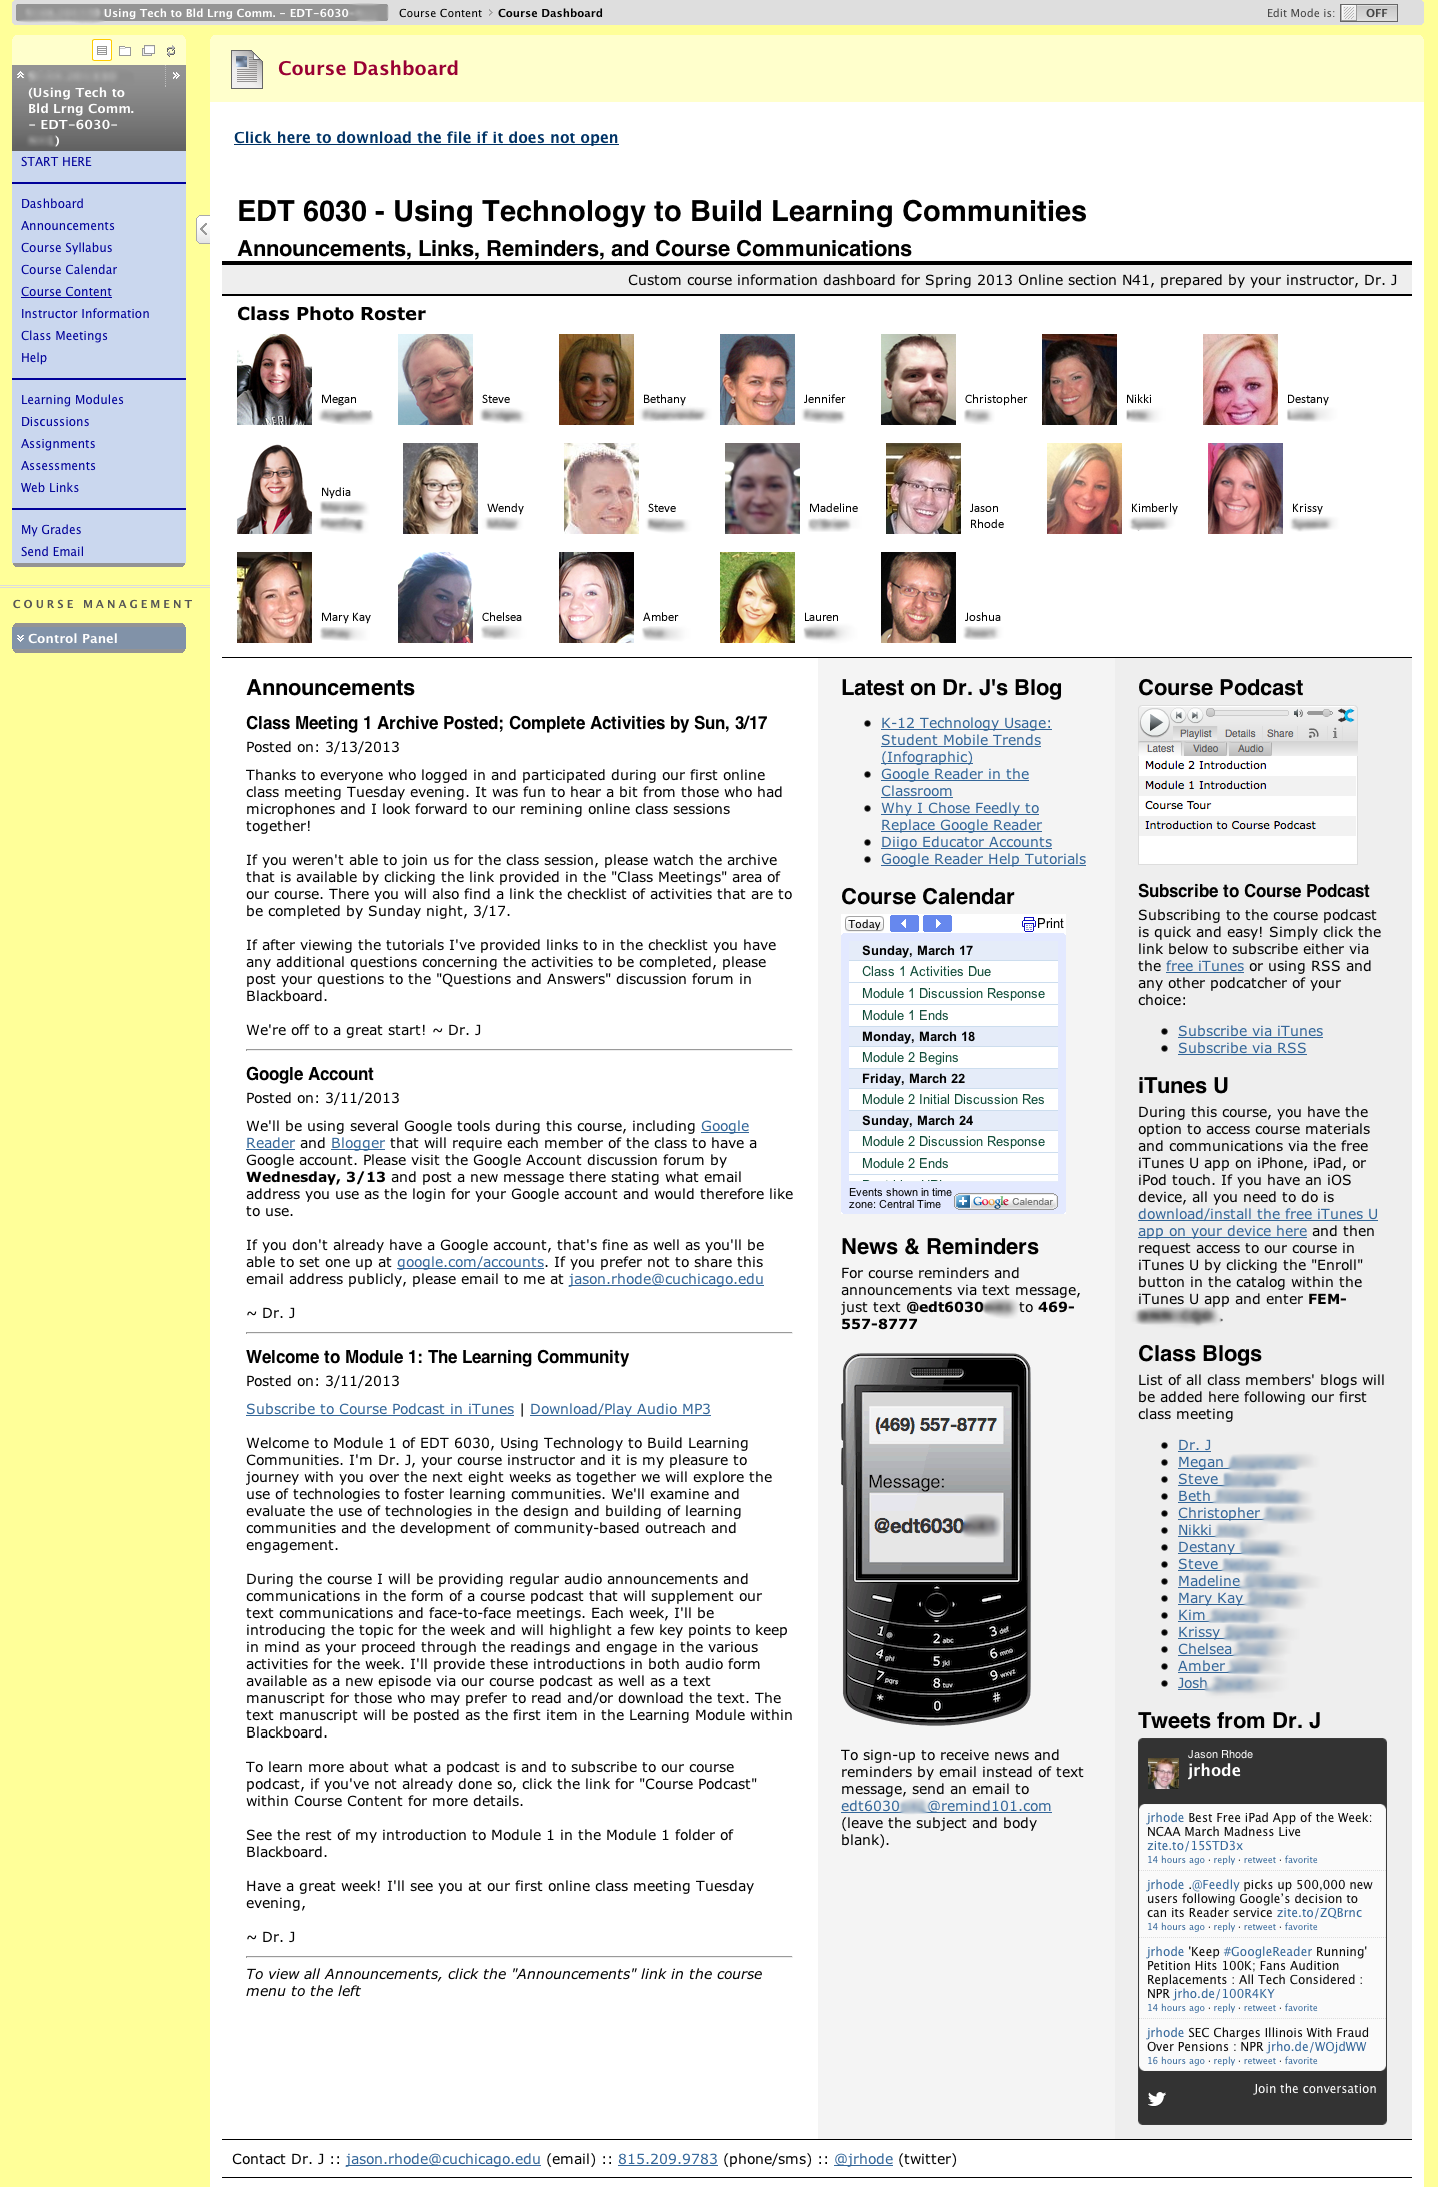
The dashboard is a simple html page (more details to be shared in a future post how to setup) set as the default entry point for the course. For this particular course I’ve shared, the dashboard contains the following information items:

Class Photo Roster – Students were requested to provide a digital portrait during the first week of the course. These photos are displayed along with their preferred first name to be used during the course.

Announcements – Latest several course announcements, also posted and sent via email using the Announcements tool in the course, are displayed for students.

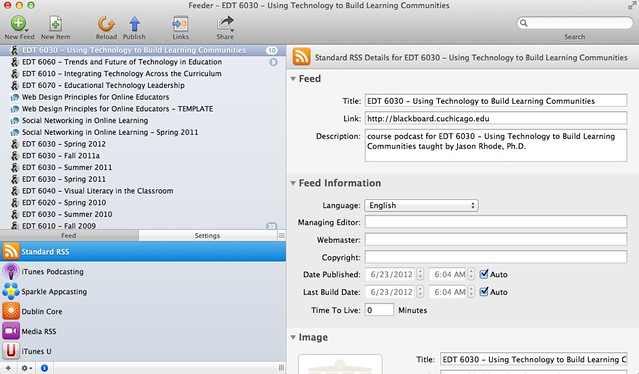
Latest on Dr. J’s Blog – Utilizing a simple javascript RSS embed utility, Feed2JS, an embedded script that displays the latest 5 blog post titles from my blog that students can click on to go directly to those latest posts.

Course Calendar – Google Calendar I’ve setup for the course.

News & Reminders – Details for how students can sign-up to opt into our course texting group.

Course Podcast – Embeddable player using BigContact to play the latest episodes of the course podcast.

iTunes U – Details for how students can sign-up to try the iTunes U version of the course being made available as an experimental trial during the course.

Class Blogs – List of all class members’ blogs.

Tweets from Dr. J – Instructor’s tweets, to be adjusted later in the course to instead display most recent tweets using course hashtag

Ideal Solution

This “homemade” dashboard I’ve created isn’t ideal, but it is closer to my ideal course entry point than the current Home Page tool in Blackboard. It’s conceivable that Blackboard could develop a customizable dashboard, based on the Home Page tool but redesigned, which could take the information modules already in the Home Page and build in additional flexibility of the layout (2 columns, 3 columns, 1 wide column & 2 narrow columns, etc.) as well as include module types where faculty could embed various other information sources, images, scripts, or HTML.

Students could still perhaps add other personalized modules, but the instructor should have much more flexibility in how the Home Page is formatted and be able to embed other types of content or information streams. I envision this communication dashboard being much more instructor-driven than the current Home Page tool, affording the instructor the ability to develop “social presence” within the course by featuring at the login page the various communication streams for the course. I hope this solution will eventually be considered by Blackboard Product Development and I welcome any opportunity to provide further input.

What entry point do you use for your Blackboard course, the Home Page, Announcements, or something else? What features would you like to see in an ideal course entry point? Leave a comment with your suggestions!

How to Create a Course Podcast with Dropbox in 5 Easy Steps

This will be the first of a series of posts where I will share step-by-step tips for some customized online course development practices that I’ve recently attempted and found to be successful in my own online courses. Many of these tips will specifically deal with building a course in Blackboard, but the principles can certainly be applied to course design within other learning management systems.

For years, I’ve been a big fan of podcasts and have found them to be a fantastic tools for professional development as well as for fostering “presence” in my blended and online courses. As an auditory learner myself, I prefer to learn through audio in conjunction with text and have for years looked for ways to incorporate audio into my teaching. If you are brand new to podcasting, I encourage you to view this 8 minute introduction to podcasting I recorded a number of years ago as well as to read Educause’s 7 Things You Should Know About Podcasting for a background into the educational potential of podcasts.

While podcasts may not be for everyone, there is indeed no shortage of literature on podcast or evidence pointing to the educational benefits of podcasting. Here I’ve bookmarked just a few articles I’ve come across on the merits of podcasting in education.

Podcasts, whether they be audio or video, are viewable either online or a mobile device. A true podcast is far more than just an audio or video file, but also all a user to subscribe to receive new episodes automatically. For those who teach with Blackboard, there was at one time a very slick open source building block by the OSCELOT group (OSCELOT Podcaster) that replicated functionality pioneered by Learning Objects for creating and hosting podcasts directly within the course. This open source building block was broken when an institution upgraded to Blackboard Learn 9.x and at the time of this post, still isn’t yet working.

For that reason, I began several years ago experimenting with alternative approaches to creating a course podcast. My initial efforts involved creating a course podcast using Hipcast, but in search of a cheaper (ie: free) solution, I then tried using the free AudioBoo service for recording, posting, and sharing podcast episodes directly from my mobile device via the free AudioBoo app (version for iOS and Android available).

sample course podcast created with AudioBoo
sample course podcast created using AudioBoo, available at audioboo.fm/ionsn1111

After several other approaches, none of which were much more successful, I finally came across a workflow that has worked quite well for me for creating and hosting course podcasts using Audacity, Dropbox, Feeder, and FeedBurnerwhich I will do my best to share here. The tools and workflow that I am about to share is how I have gone about creating the following course podcasts:

  • Web Design Principles for Online Educators [RSS] [iTunes]
  • Using Technology to Build Learning Communities [RSS] [iTunes]
  • Trends and Future of Tech in Education [RSS] [iTunes]
  • Social Networking in Online Learning [RSS] [iTunes]

For that sake of this tutorial, I will be using my course podcast, EDT 6030 – Using Technology to Build Learning Communities as the sample course podcast I’ll be referring to as I provide additional details.

course podcast in iOS podcasts app
Sample course podcast found by searching in Podcasts app on iOS

Step 1: Record an Audio File (.mp3)

The very first technical task that must be completed is to simply record a file which will be the first episode of your podcast. Personally, before I record a podcast episode, I like to write a script that I read from when I record. In my course, when posting a link to the podcast episode, I include a link to the transcript for those who would prefer to read the transcript. Once I have a script, I then recording using Audacity on my computer. Audacity is a free audio recording software tool for either Mac or Windows that you can download from here. After downloading/installing Audacity, go ahead and record a sound file and export as a mp3 file. This will be your first podcast file. Save this file on your desktop.

Audacity running on Mac

Step 2: Setup Free Dropbox Account

If you don’t already have a free Dropbox account, click here and sign-up for your own account. Then, follow the instructions to install Dropbox on your computer(s) and setup a folder that will serve as your Dropbox. After having done so, you will locate on your computer within your Dropbox folder a “Public” folder.

**NOTE – For new accounts created after July 31, 2012, a Public folder won’t be created. Instead, individual files in any folder can be shared online. If you don’t have a Public folder, you’ll need to enable public access to that particular file.

Step 3: Create a Course Folder in Your Dropbox to Save Podcast Files to

Within your Dropbox Public folder (provided you setup your Dropbox account before July 31, 2012), create a folder for your course. I use a prefix of ~ in front of my course folders so I quickly can see which folders are course folders apart from other folders I may have.

Dropbox folders

Then, save the audio file(s) already recorded for your podcast into this newly-created course folder in your Dropbox.

After doing so, when you login to your Dropbox at dropbox.com, you’ll see this folder you created on your computer automatically uploaded to your Dropbox and any files you added will also be uploaded.

Here’s a quick video tour of my public Dropbox folder where my for my course audio files are located.

Step 3: Create Podcast RSS Feed

In order for students to subscribe to your podcast, you need to have an RSS feed for your podcast that students can subscribe to. I personally use and highly recommend the software Feeder for creating and editing podcast RSS feeds on Mac. A comparable tool that works well on Windows that I’ve also used and do also recommend is FeedForAll.

Using Feeder, give your podcast a title, description, add a thumbnail, etc. Basically, just fill in the fields that Feeder prompts you to create.

setting-up podcast feed

After adding feed details, then add the first episode (ie: “item”) to your podcast. To do so, you will just add a new item to the podcast feed and include the title and a description for the episode. You’ll also need to add the URL for where the episode file is located. Here’s a quick tutorial demonstrating how to create a podcast feed and add a new item.

Feeder creates a file with a .xml extension that I save within my Public folder in Dropbox, in a sub-folder I create for my course. When I save this file in my Dropbox public folder for my course, the public URL for my podcast feed then becomes: http://dl.dropbox.com/u/7112775/~edt6030/podcast.xml. Technically, this is the file that students can subscribe. However, I recommend taking the following 2 steps to create a more user-friendly RSS feed that you can also track, as well as to submit your podcast feed to iTunes if you’d like easy access to your podcast.

Step 4: Create User-Friendly and Trackable Version of Your Podcast RSS Feed Using FeedBurner

While your students can technically subscribe to the RSS feed (.xml file) at the URL for that file located in your Dropbox folder, it is preferable to instead provide students with a FeedBurner version of your feed, for the following reasons:

  1. A FeedBurner version of the feed is a much more user-friendly version. Compare the following two versions of the same course podcast feed:

    Podcast native XML file
    Podcast feed XML file in native format displayed within browser

    FeedBurner version of podcast displayed within browser
    Same podcast feed, FeedBurner version displayed within the browser

  2. If you ever decide to move your podcast .xml file to another location, if students are subscribed to the FeedBurner version, they won’t ever have to re-subscribe.
  3. The FeedBurner version tracks number of subscribers and downloads. So, only providing students the FeedBurner version of your podcast feed, you’ll know how many are download and how many times each episode is downloaded.

Creating a FeedBurner of your podcast feed is quick and simple! Here’s a quick tutorial demonstrating the easy steps to create a user-friendly and trackable podcast feed using FeedBurner.

Step 5: Submit Your Podcast to iTunes for Easy Access for Your Students

This is technically an optional step, but one that I go through in order to make it easy for my students to find my podcasts from within iTunes or any of the many podcasting apps on mobile devices in order to subscribe.

To submit your feed to the iTunes Store:

  • Open iTunes.
  • Click the green iTunes Store icon on the left side of the iTunes window.
  • From the top navigation bar in the iTunes Store, click Podcasts.
  • From the Podcast Quick Links section on the right, click “Submit a Podcast.”
  • Follow the instructions on the Submit a Podcast page.
  • Note that you will need a valid iTunes account, and you will need to be logged into iTunes. If you are not logged in, iTunes will prompt you to enter your Apple ID and password before accepting your submission. Logging in increases the likelihood of valid contact information for each submission. You will not be charged for submitting a podcast.

    If you have created an RSS feed with all of the recommended iTunes tags, you will see a summary page immediately after you submit your feed URL. If you have not included , , and tags in your feed, you will see a second screen prompting you for this information. Please note that you can change this information at a later date by including the tags in your feed. Your RSS feed is considered the current and authoritative source for information about your podcast.

    Next Steps…

    At this point, you’ve completed your initial setup of your course podcast…congrats! From this point forward, you simply now maintain your podcast feed, recording new episodes and adding them as new items to your podcast feed. As you do so, your students will automatically receive your new episodes in whatever podcatcher they may prefer to use.

    More Samples

    Here are a few more samples of podcast-related resources and samples from my experience podcasting in my courses:

    Leave a comment and let me know if you found this tutorial helpful and/of if you have other questions about creating your own course podcast using these steps provided. I’d also love to take a peek at your own course podcast if you don’t mind sharing.

    UPDATE 5/8/14 – I recently learned of a new tool, JustCast, that removes the previous technical hurdles and makes podcasting using Dropbox super simple! See more details here.