Updated Academic Integrity Online Tutorials Available

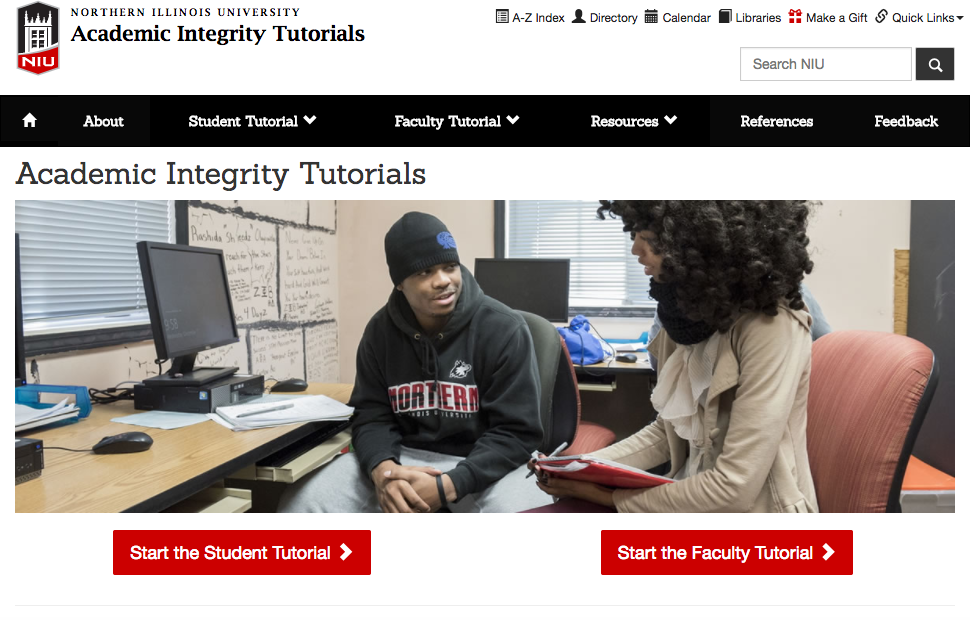
Online tutorials on academic integrity, previously developed in 2005 and made available in part through the “Project for Improvement of Undergraduate Education” grant by the Northern Illinois University Committee for the Improvement of Undergraduate Education, have been updated and have been re-released at go.niu.edu/academic-integrity

Academic Integrity Tutorials

The purpose of these tutorials is to promote academic integrity at Northern Illinois University by increasing students’ awareness of the issues, offering strategies for students to protect themselves from academic dishonesty situations, and increasing faculty’s awareness of the issues and offering them strategies to address academic dishonesty incidents effectively. These tutorials are intended for self-paced learning by students and faculty and can be used as an educational resource to supplement classroom discussions on academic integrity. Over the past 12 months, the academic integrity tutorials have been view by more than 10,000 users and average over 1,300 hits each month.

Both a student tutorial and faculty tutorial are available. The tutorials are available to the public and can be accessed without any required login or password.

Faculty can use the tutorial as part of their classroom discussions on academic integrity and encourage students to review the content and complete the activities as part of a course activity. Students who complete the student tutorial successfully can print a certificate of completion which can by submitted as verification of their completion.

Special thanks to the staff of Faculty Development and Instructional Design Center for updating the tutorials and migrating them to NIU’s latest web templates.

NIU’s Customizations and Building Block for Blackboard Enterprise Surveys and Course Evaluations

Since the open discussion at BbWorld where NIU shared that we’ve been working on some system tweaks as well as a custom building block for providing an alternative reporting format for Bb enterprise surveys and course evaluations, we’ve conducted a very small pilot of the tool this summer and continued efforts on an initial draft of a building block that provides an alternate report format.

For those interested in learning more about our efforts, I recorded this screencast demo of the functionality at this point that I can share with those who would like to see the building block deployed within our dev environment. I tried to avoid as much technical-specifics as possible and rather just show the workflows and functionality tweaks that we’ve envisioned.

A decision still hasn’t been made institutionally whether we will continue to pursue a wider pilot of the tool with additional building block enhancements to be requested, or look at other 3rd party tools.

For follow-up on any additional technical details about the tweaks and building block depicted, please contact Ruperto Herrera (rherrera@niu.edu) and Matt Kacskos (mkacskos1@niu.edu) who have done all the technical development work.

How to Create a Course Podcast Using Dropbox and JustCast in 5 Easy Steps

I’ve been a long-time proponent of podcasting in education and I shared back in 2012 how to create a course podcast using Dropbox. The process I shared at that time, while free and workable, was still a bit cumbersome a presented a few minor technical hurdles that faculty needed to overcome in order when implementing. I recently learned of a new tool, JustCast, that removes the previous technical hurdles and makes podcasting using Dropbox super simple!

This 2-minute tutorial demonstrates how easy it is to create a podcast using Dropbox:

JustCast Tutorial

I decided to give JustCast a try myself. Below are the steps I took to setup a course podcast for my summer course, ETT 511: Advanced Instructional Media Design, in less than 5 minutes! Before following my steps below, you’ll need to first have a Dropbox account, which you can sign-up for free at dropbox.com.

Step 1: Sign-up for a Free Account

After I viewing the tutorial at justcast.herokuapp.com, I signed-up for a free account. In a matter of just a couple of clicks, I had approved the JustCast app in my Dropbox account. After logging in, my JustCast Shows page looked like this:

JustCast Shows

Step 2: Edit “example” Dropbox Folder Name

As part of the JustCast install process, it creates a folder called “justcast” in your “Apps” folder in your Dropbox folder. Within that “justcast” folder will be a subfolder called “example” that is meant to be the placeholder for your first podcast. I renamed that folder to the name of my course podcast, “ETT 511 – Summer 2014” so it appeared as follows:

renamed podcast folder

Step 3: Place .mp3 File in Podcast Folder

With my course podcast folder renamed to “ETT 511 – Summer 2014” I then simply dragged and dropped the .mp3 file for my first podcast episode into that folder within Dropbox on my computer, which then sync’d with my Dropbox in the cloud. Once sync’d, I could see that the audio file for my first episode was within my Dropbox/Apps/justcast/ETT 511 – Summer 2014/ folder
Podcast file
For each new episode to be added in the future, the new .mp3 file will simply need to be added to this folder.

Step 4: Edit Podcast Details

I then went ahead and edited my podcast show details in JustCast. Clicking the “Edit” button I added the following show details and attached a square graphic to be used as the thumbnail artwork for the podcast.
edit show details

After saving the edited show info, the podcast appeared in my list of shows as follows:
edited podcast show details

Step 5: Share Podcast RSS URL

The final step was to click the “RSS” button for my show to get the RSS feed for my course podcast, which is http://justcast.herokuapp.com/shows/371/audioposts.rss

podcast RSS feed

Students can copy/paste this URL into their own podcast app of choice, such as Downcast, Instacast, Apple’s Podcast app, or others to subscribe and be able to easily download & access all future course podcast episodes directly from their mobile device.

I’ve been very impressed thus far with JustCast, even though it is currently just beta. I plan to continue using it for my course podcast this summer and I’d encourage other educators looking for a simple and free podcasting solution to give it a try! The free plan currently limits to 100mb of uploading per month, with an unlimited monthly upload option for just $5/mo.

Have you tried JustCast and/or found these steps helpful? What has been your experience thus far with podcasting using Dropbox and JustCast? Leave a comment with your thoughts!

How to Record and Caption Videos Using a Webcam in YouTube

During the Fall 2013 semester in the online course I am teaching, I am experimenting with using YouTube’s free features to record weekly video introductions to my instructional units, caption the videos, and seamlessly incorporate them into my online course in Blackboard. In this tutorial, I share how to record a video using YouTube’s built-in webcam recording capabilities as well as caption the video with YouTube’s built-in captioning feature.

In future posts, I’ll share more details on my workflow and specific examples for how I have integrated the vides into my Blackboard course.

How to embed a photo in Blackboard

For several assignments in my online course, I require my students to embed image(s) into their postings in Blackboard.  Below are the steps I’ve outlined for how to post a photo so it is embedded (ie: viewed in line with the text of your discussion post).

Step 1: Compose your message as desired, then place your cursor in the body of your message where you want your image to appear.

Step 2: Click the “Insert/Edit Image” button.

Steps 1-2

Step 3: Click the “Browse My Computer” button and locate the image on your computer that you wish to embed.

Step 4: Enter “Image Description” and “Title”

Step 5: Click the “Insert” button

Steps 3-5

Step 6: Click the “Submit” button (if discussion) or “Post Entry Button” (if journal or blog)

The photo you selected should be displayed where you cursor was located in your post.

Step 6

Step 7: View your post to ensure that photo is embedded where desired

Step 7

Whenever you are asked to post a photo in Blackboard, it’s always preferred that you embed the photo as described above instead of attaching otherwise.